


In this first lesson on the in swift UI first things that we are going to discuss about is how to create the foundation of any screen in your application.
VStack
HStack
ZStack
Let's discuss about VStack first.
VStack
VStack stands for Vertical Stack. It helps us to create vertically aligned UI. Something like this.
VStack {
    Text("Hello, SwiftUI!")
    Button("Tap me") {
        // Button action
    }
    // Add more views as needed
}
.padding()
Here if you run the above code in xcode. You will see both the component aligned in on after other in column. Something like this.

We can also update the alignment of the Vstack applying these properties.
VStack(alignment: .leading, spacing: 10) {
    Text("Title")
        .font(.title)
    Text("Subtitle")
        .font(.subheadline)
}
.padding()
.background(Color.gray)
.cornerRadius(10)
.padding()
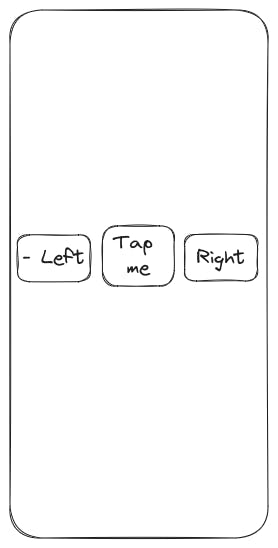
HStack
Similar to Vstack we have Hstack. Which help in horizontal alignment of UI element.
HStack {
    Text("Left")
    Spacer()
    Button("Tap Me"){}
    Spacer()
    Text("Right")
}
.padding()
Other alignment properties can also be passed similar to the VStack.
HStack {
    // Views
}
.background(Color.gray)
.cornerRadius(10)
.padding()
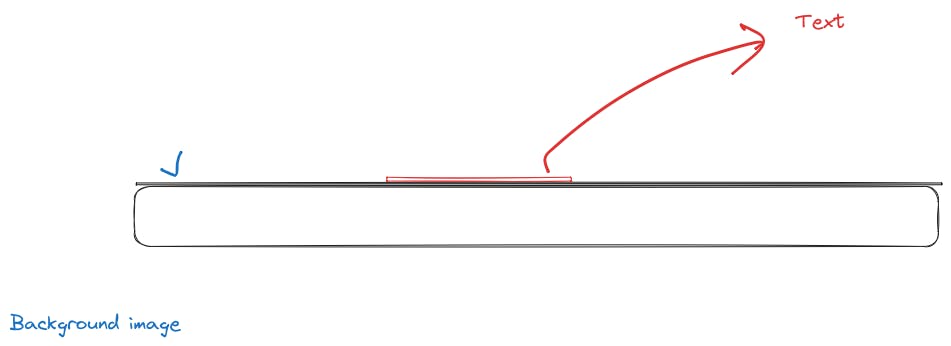
ZStack
There is one more which is called ZStack. It help you to add UI element in Z-axis.
Here is an example:
ZStack {
    Image("backgroundImage")
    Text("Hello, SwiftUI!")
        .font(.largeTitle)
        .foregroundColor(.white)
}
.padding()
Here if you run the above code using correct image. You will able to see that Text Ui element is above the background Image.